I just married the love of my life (Philip). Our wedding was very rustic in nature and we used lots of burlap. Because of this fact I now have an abundance of burlap lying around the house. So I stumbled upon this blog (via my wonderful sister) who had this idea for a use for burlap:
http://jonesdesigncompany.com/decorate/ruffle-wreath-a-tutorial/
First, you will need a wreath (foam or I used a straw wreath with the cellophane still attached), a hot glue gun, scissors, burlap, felt, fabric, and a needle and thread.
Then cut 3 pieces of burlap. 2 @ 4x 70 and 1 @ 6x 70
Take one of the 4" strips and wrap the wreath with it. Glue the first end and the last end to secure the burlap.
Next take the 6" strip and thread loosely along the bottom edge. Then pull tightly to create a ruffle. Glue along the back side of the wreath.

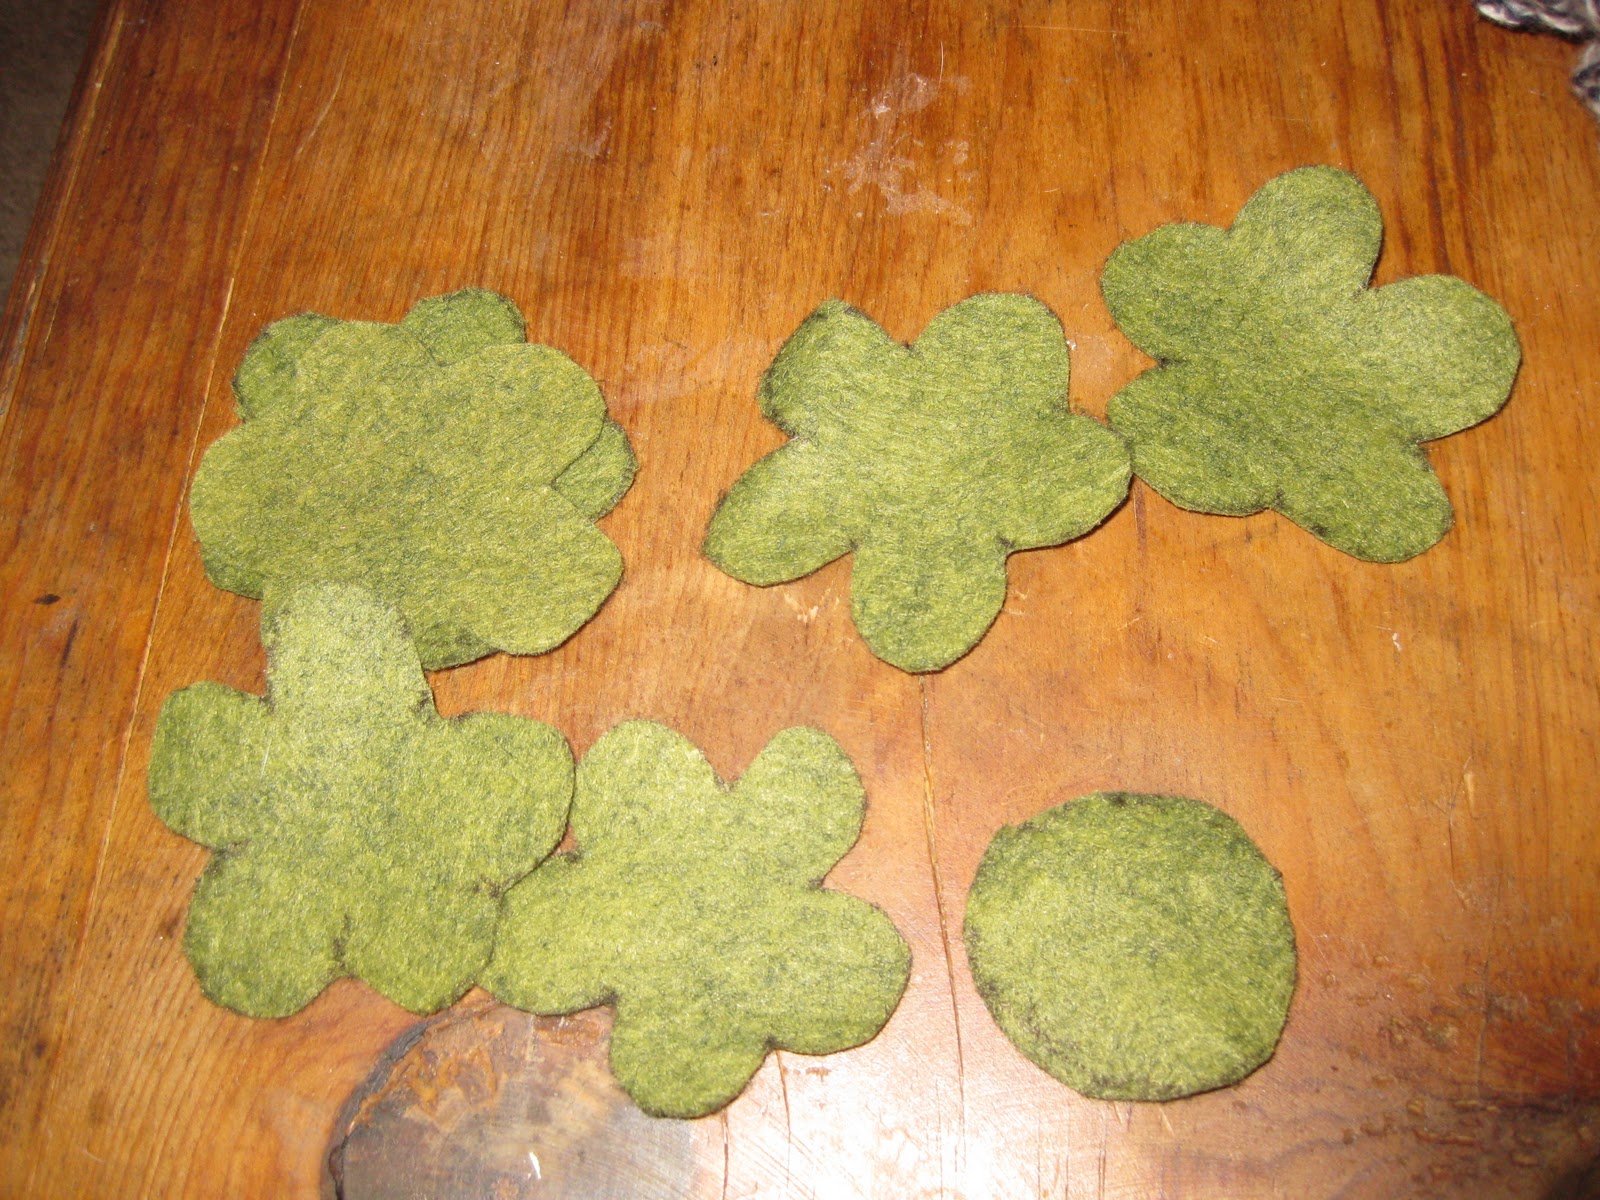
Then take the last 4" strip and do the same. Create the ruffle and but this time glue to the front side of the wreath. Once attached, take the felt and draw out a circle. I am not one to measure or be too technical, but I wold say the circle needs to be approximately 2 1/2". Then draw approximately 6 flowers.
Cut them out trying to stay on the inside of the line so that the black won't show.
Take one flower and fold in half.
Fold in half again.
Now cut the bottom corner off to create a flat bottom.
Glue on the circle. Continue with three more flowers, glueing along outside edge.
Fill in the center of the flower with your two other flowers. If you want it to feel fuller you may choose to cut out a few more flowers.
For the next flower, pick out your favorite fabric. Flip to the back side to draw on the petals. Draw a crown-like shape with rounded tips to create the petals. One larger and one smaller.
Next, repeat the same threading process to create a ruffle. Pull tight and connect the two ends to create a continuous circle. Do this to both sizes.
Connect the two petals by sewing them together creating the flower.
It is now time to attach the flowers. I tried to use hot glue but concluded that they were more secure when I used push pins. The last step is to get a matching strip of fabric and create a loop. Attach it to the back side of the wreath so that it can hang nicely.
High five yourself because you are done. Here is a look at it on my front door. However, I think I might make this an interior wreath. I love it!